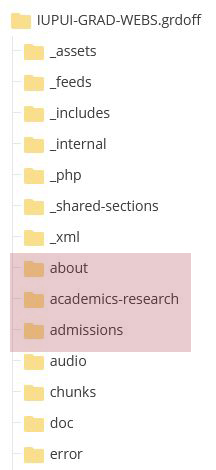
There are multiple components of the backend, but we will only focus on the Site Content (on the left side) and the main workspace.
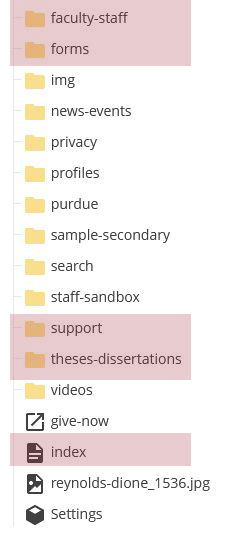
The Site Content is where all the folders for the website are found. You will see many folders that probably don't mean anything to you. That's fine because most of them I don't use either.
You will only need to work with the folders that hold the content in the dropdown menus on our website: About, Applications & Admissions, Academics & Research, Thesis & Dissertations, Student Life & Support, Faculty & Staff Resources, and Forms. Maybe later we can do a more in-depth tutorial that will use other folders, but for our purposes today and for any future editing you may do, we'll stick with these.
The Workspace is where all the magic happens. It is where you will do all your editing.
Let's say you now have something you want to edit. Navigate to the file folder where the content you want to edit is located and make sure the file is selected. Across the top on the right you'll see the edit button. Click on that.

OMG what are we looking at now???? And you thought the last page was confusing! Here is where the editing takes place.
There is a lot going on. Most of it you don't have to worry about. When I create sections, I give them labels that describe what the section is about, so on any given webpage, you should be able to navigate to the section you will be editing.
For our now, we will be using a specific file folder.
- Navigate to the folder labeled "staff-sandbox"
- Click on the file with your name on it and follow along!